A Step-by-Step Guide for Western Massachusetts Homeowners
Talk to anyone in Western Mass about solar, and the conversation quickly turns to how solar panel installation works in real life. Someone in Shelburne Falls got tired of winter outages knocking out the fridge. A friend in Northampton finally decided that paying Eversource every month felt like throwing money in the wind. Solar isn’t just about panels on a roof—it’s about control over a house that has to weather real New England seasons.
Around here, electric bills spike in the summer, and January snow can sit heavy on a roof. Local installers have learned how to work around that. If you’ve ever wondered what really happens between that first “let’s see if solar works for us” and the moment your meter starts spinning backward, here’s the play-by-play.
Why More Western Mass Homeowners Are Going Solar
Folks around the Pioneer Valley and the hilltowns aren’t chasing trends—they’re looking for relief from high bills and a bit of independence from the grid. A few things drive the switch:
- Monthly savings that stack up when your panels cover most of your usage
- Backup options that keep essentials running when the power blinks out
- State and federal incentives that take the sting out of the upfront cost
For now, the 30% federal solar tax credit is still on the table, but it disappears after December 31, 2025. We’ve put together a separate guide on what that change means if you’re thinking about solar before the deadline.
What really sells most homeowners, though, is simple: the idea that their house is producing its own power, season after season, without waiting on the grid to cooperate.
Step 1: Site Assessment & Initial Consultation
What to Expect During the First Visit
The first step isn’t about anyone climbing up with a drill. It starts with a walk-around and a chat. A local solar electrician comes by to see how your house really lives with power—when it uses the most, where the sun hits, and what could get in the way.
They’ll probably start in the driveway, tilting their head toward the roof.
- Asphalt shingles?
- Standing-seam metal?
- Slate, like you see on some older homes in Florence?
Each one tells them how easy or tricky panel installation might be.
Then their eyes go to the trees and chimneys. That big maple out front that looks so pretty in October? It’s also a source of afternoon shade that could cut your production.
Once the roof and sun are figured out, they’ll peek at your electric use—maybe you’ve got old baseboard heaters, a new mini-split, or a pool pump running all July.
Before they leave, they may pull out a tablet showing a drone image or satellite view. These tools make the process faster and catch things you might not think about—like that one back corner of the roof that goes shady by three o’clock.
The goal of this visit isn’t to sell you anything on the spot. It’s to figure out if solar really makes sense for your home and, if so, what kind of system would do the job right.
Step 2: Custom System Design & Proposal
How Your System Is Tailored to Your Home
Once the site assessment is complete, the real planning starts. Your installer takes everything they’ve learned—roof shape, sun exposure, your electric use—and builds a system that works for your life in Western Mass.
Here’s what that design phase includes:
- Panel layout, inverters, and battery storage options: Whether your roof needs two smaller arrays or one clean row, and whether adding storage makes sense for outages.
- Seasonal energy and savings estimate: You’ll see when your system is expected to pull its weight—how much energy it should make through the seasons and when those savings will likely add up to cover what you spent.
- Digital mock‑ups: Before anything goes on your roof, most installers will share a mock‑up. It’s a quick way to see the panels in place, so you can imagine how they’ll look from the street or while you’re standing in the backyard.
When the proposal arrives, it should feel like a plan you can picture, not a bundle of guesses. It shows the cost, the expected production, and why the layout actually works for your home.
Step 3: Permitting, Approvals & Incentive Applications
Navigating Local Red Tape Without the Stress
Once your solar design is approved, the paperwork begins—but you won’t be the one juggling folders at Town Hall. A good local installer handles almost all of it, so the process moves forward without you losing a morning to municipal offices.
In Western Mass, the journey usually looks like this:
- First come the building and electrical permits, which your town needs before a single rack goes on the roof. In some rural spots, that can take a couple of weeks if the inspector only visits on certain days.
- Next is utility interconnection—this is the agreement that lets your home send power back to the grid for creditunder net metering..
- The last step is filing for the state and federal incentives that help your system start paying for itself sooner rather than later.
The 30% federal solar tax credit for homeowners ends on December 31, 2025, due to recent legislation. There’s no gradual phase‑out, these residential solar tax credits under Section 25D end completely on January 1, 2026. This is nearly a decade sooner than the timeline originally set by the Inflation Reduction Act.
You can still claim the tax credit, but your system has to be fully installed and online by December 31, 2025. Homeowners who want the full benefit should plan ahead to avoid last‑minute scheduling issues. We’ve got a Solar Tax Credit Changes post that explains what happens after that date.
This part of the process isn’t exciting—you won’t see panels yet—but it’s what clears the way for installation day. A smooth permitting process means your system can go up without unnecessary delays.
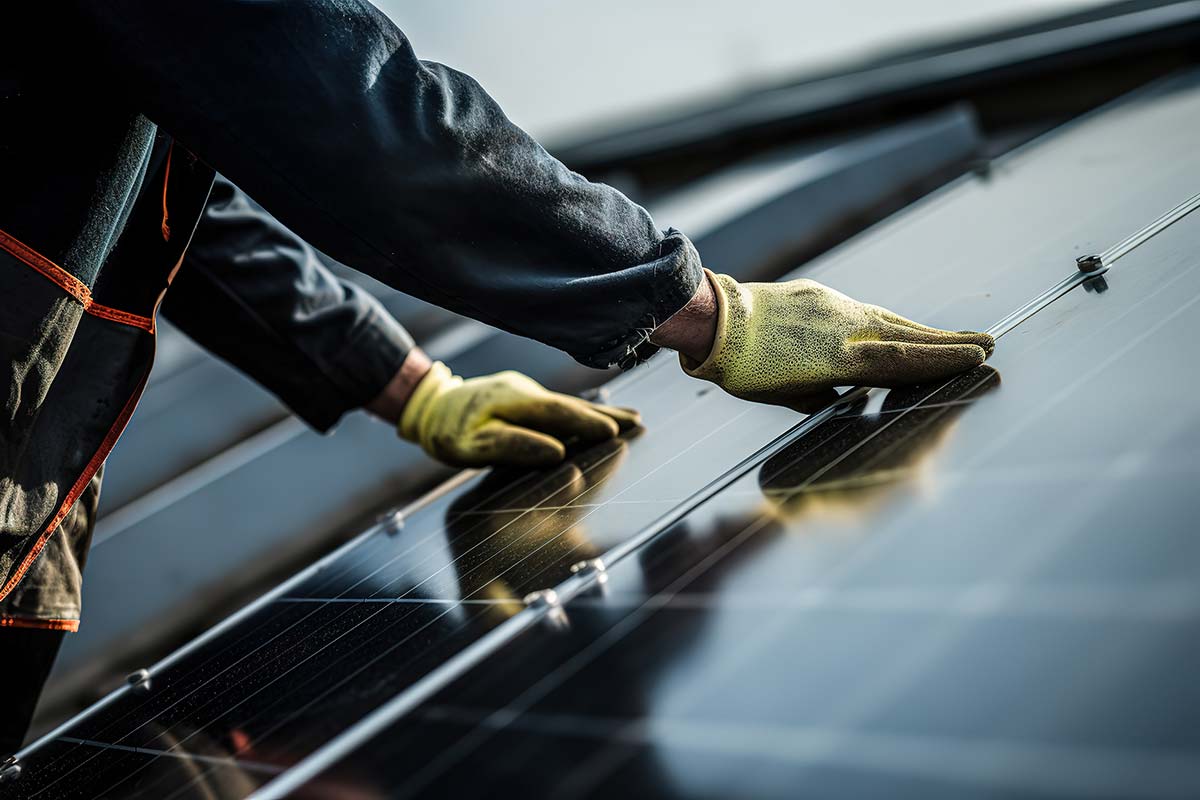
Step 4: Installation Day
What Happens On-Site
The day the crew arrives, the project finally feels real. A truck pulls up, and before long someone’s setting a ladder against the roof. That’s the moment it sinks in—your solar install is officially underway.
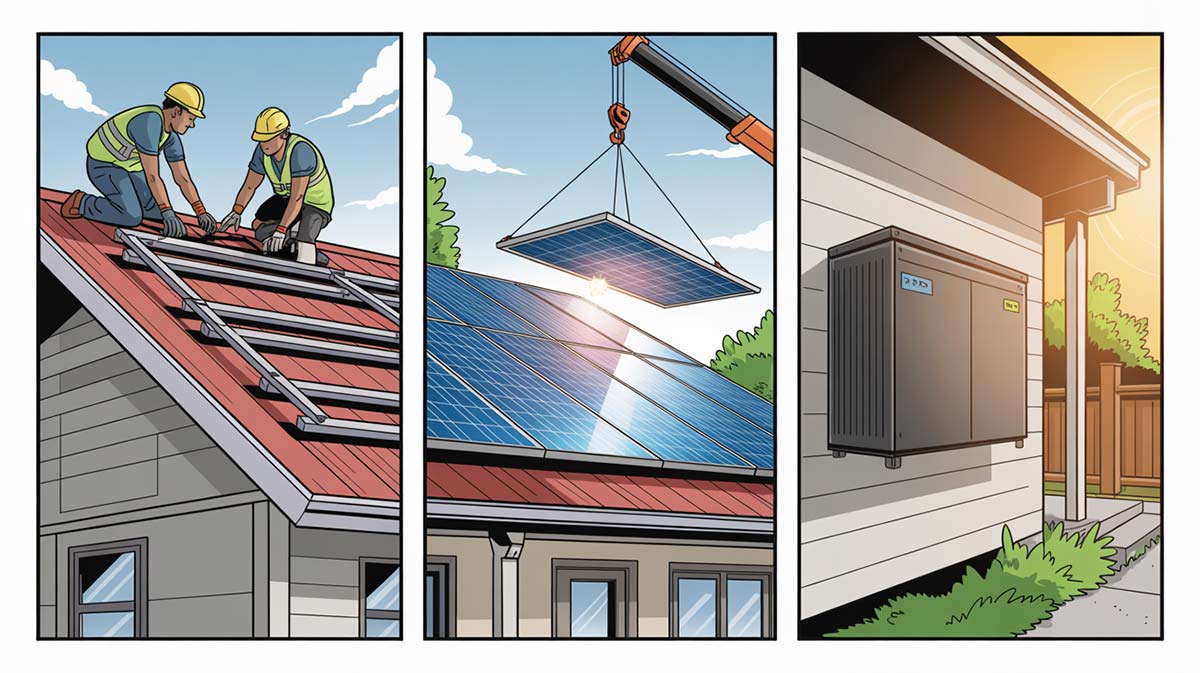
From there, the process moves step by step.
- Racks and rails are set first, giving the panels a secure place to rest.
- Panels are mounted and wired, and if your system includes a battery, that unit gets installed at the same time.
- Final checks prepare the system for inspection and eventual utility approval.
Most homes in the Pioneer Valley only take one to three days to complete, depending on the roof and the weather. By lunch on the first day, your roof already looks different. By the end, the array is in place and the house feels one step closer to making its own power.
Installation day is all action, but the real milestone comes after inspection and activation—when the system actually starts working for you.
Step 5: Inspections, Utility Switch & Activation
Getting Permission to Operate (PTO)
Once the panels are on the roof, there’s a short pause before your system can go live. A local inspector stops by to make sure everything meets code—a quick visit, usually, but mandatory.
Then the utility takes over. They’ll replace your standard meter with a net meter so the system can track any extra energy you send back to the grid. That’s the piece that turns extra sunshine into credits on your bill.
After that, it’s mostly waiting. Utilities in Western Mass usually take two to four weeks to grant what’s called “Permission to Operate,” or PTO. When that email or letter arrives, you’re officially making your own power.
Step 6: Monitoring & Maintenance
Keeping Your System Running Smoothly
Once the switch is flipped, you can follow your system from the couch. Most modern setups include an app or online dashboard that shows your daily and monthly production in real time.
Maintenance is pretty hands‑off. Around here, rain usually does the cleaning for you, and snow only lingers until the sun hits the panels. After a big storm, a quick look from the yard is usually all it takes.
Long‑term care is just as simple. Most panels are backed for 20–25 years, and installers typically guarantee their work for a decade or more. If you want added protection, service and maintenance plans help keep things running smoothly.
Frequently Asked Questions
Do solar panels work in winter or on cloudy days
Yes. Solar panels still work on cloudy day and in the winter. Even a cold, clear morning can give you a good boost. Most systems in Western Mass are sized so the sunny months make up for the slow ones.
How long does the installation process usually take in Western Mass?
Getting the panels on the roof doesn’t take long—usually a day or two. A tricky roof might stretch it to three. The waiting comes from everything else: permits, utility approvals, and finding a spot on the schedule.
What happens to my system during a power outage?
When the grid goes out, your panels stop feeding power automatically—it’s a safety thing for utility crews. If you want your lights and fridge to keep running, you’ll need battery backup. That’s the only way your house stays powered while the rest of the street waits for the grid to come back.
Do I need to clear snow off my panels?
Usually, no. Snow slides off on its own once the sun warms the panels. After a heavy storm, a glance from the yard is enough. Climbing onto the roof just isn’t worth it.
How does net metering save me money on my electric bill?
Some days your system will make more power than you can use. That extra energy flows to the grid, and the utility counts it as credit. Later—at night or in the winter—you use those credits to cancel out the power you pull from the grid.